Panning Instruments

Panning creates space in a mix. Whilst there are no rules really, the backbeat and lead vocal are the focal points of the mix in most conventional popular music. That means that the bassdrum, snare and lead vocal are usually panned dead center. For the listener, focus will be on the sounds panned either there or at the extreme left or right.

Here’s a few tips to get you started:

  • Try a narrower stereo image across the whole mix during the verses, and then widening by panning the elements that appear in the choruses further away from center.
  • If there are two sounds occupying the same frequency range, then try complimentary panning, meaning places them opposite of one another. (Also mind maintaining not only a similar timbre, but also and rhythmic feel in both speakers.)
  • Record the same part with the same sound twice (double-tracking), and put one recording to the hard left and the other hard right, this can result in a fuller sound.
  • Remember that less can be more: Try not to pan everything, but only a few interesting elements while keeping a strong center. Perhaps just make one element of your mix wide and spacious, not all of them.
Standard

Mid/Side This and That

The mid refers to the identical signal in the left and right channels, which appears in the middle, the center of a stereo image – the mono component. Anything that is different in the two channels, is called the side, the stereo component.

Low frequency instruments, like kick and bass should be kept at the center, while other could be pushed to the outsides.

So what you can do when EQ-ing, switch to side mode and low cut, let’s say at 120 Hz, by doing this, the signal under 120 Hz, will be in the center. You can also boost a bit of the high mids and the highs to add some sparkle on the wide sides of the stereo spectrum. This would make the signal sound brighter, wider overall. (You might need to monitor the phase to avoid issues.)

You can do this on individual tracks, or using the technique to widen the master mixdown.  

Also mid/side compression applies dynamic control. For instance, you use mid/side on side-chain compression only of the bass and sub frequencies (and not alter the mid and top range), which would make ducking more transparent.

You can have the mid signal triggering the compressor and acting on either the mid or side signal.

Standard

Piano Practise

The last few months I’ve been playing the piano. I’ve been trying to practise for an hour a day.

Truth be told, I haven’t really managed to do that. Some days I couldn’t play at all for whatever cause, while other days I played for several hours.

The reason for relearning the piano is that I felt that I didn’t play any longer and it became obvious I lacked skills. At the same time I didn’t necessarily miss that in my music. You see, many times I just ad lib on a scale and stumble upon nice stuff. In that sense, my music has a lot to do with choosing what to keep (and creating a fitting, musical context).

The last years I’ve been so busy with music production, sound design, signal paths, audio processing, the technical and theoretical aspects of music that I almost forgot how to play.

The musical content of my music is mostly improvised (and quantized) parts over drawn chord progressions or sequenced loops that doesn’t really require anyone to be a virtuoso performer. Now my music won’t change by me being able to play better – but it gives me some sort of pleasure and comfort.

Standard

Modulate Drum Samples

image

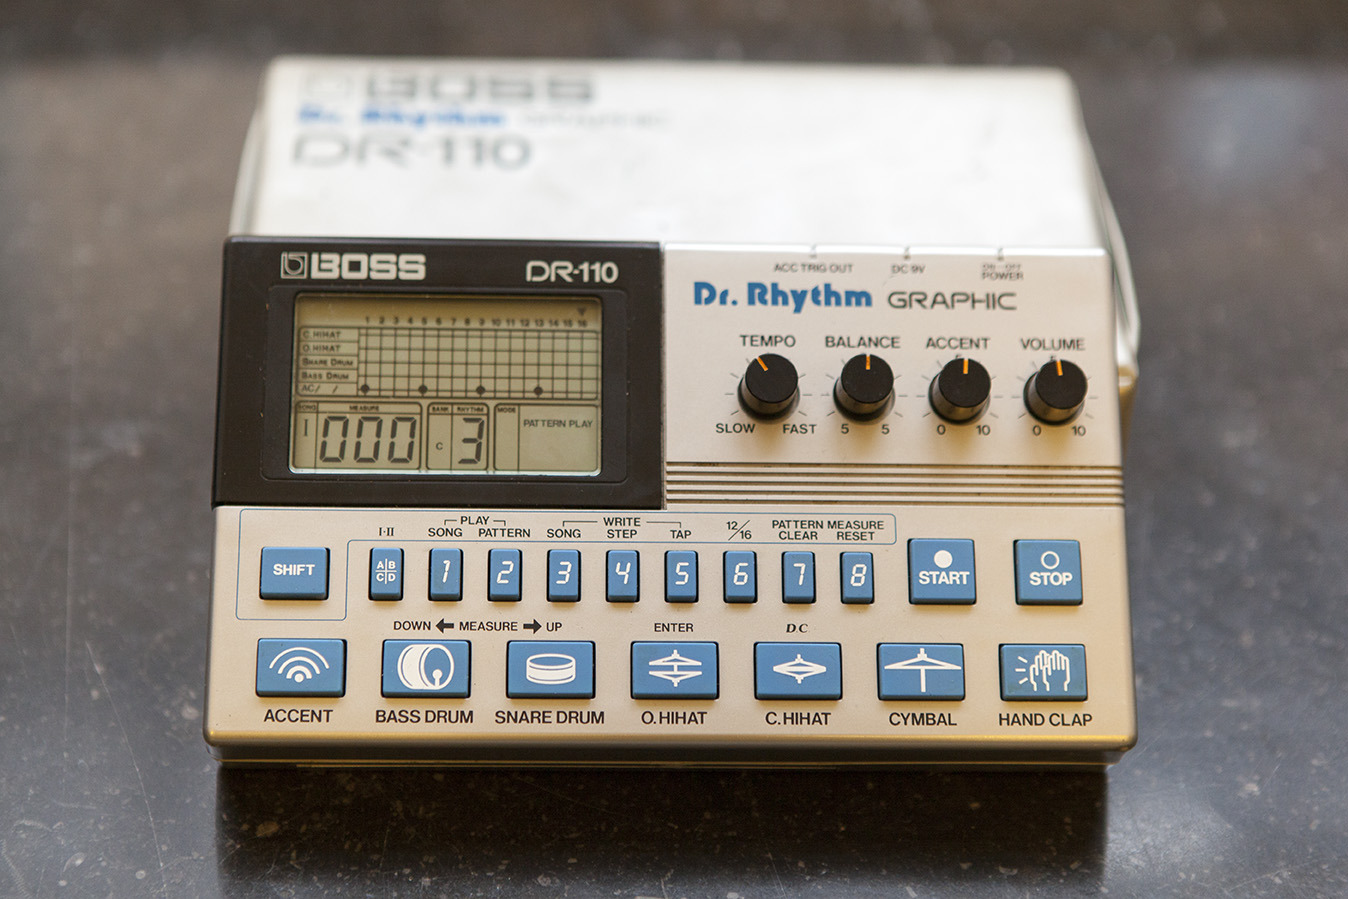
I got a few old drum machines, some analog and some digital. Sometimes I use theme with their internal sequencers synced to the tracks rooted in the DAW. I do this because working with hardware and limitations can be fun and inspiring.

Still, most times it could feel a little time-consuming and inconvenient. So I sample and set up a Drum Rack in Ableton Live, which is much more practical but at the same time could generate a more stiff and lifeless expression when using fixed samples.

To remedy this you could take some steps. You could use several samples of the same drum and switch playback in a round-robin style (read this tutorial on the Ableton website).

Another technique I usually tend to is setting a randomized velocity on the hihats for accents. In Ableton Live:

  1. Add a Drum Rack to a MIDI track.
  2. Put a hihat sample on a pad.
  3. Before the Simpler, add the Velocity MIDI effect.
  4. Set Random <20 (greater than 20 could affect the overall volume in bad way, and an added compressor later on could try to even out the intended small modulations).

Also try add a groove to your pattern.

  1. Goto Grove in your MIDI clip.
  2. Click om the hot-swap button.
  3. Choose whatever you like, e.g. MPC 16 Swing-58 is really nice.
Standard

Another Easy Way of Composing Music

  1. Improvise a riff, an ostinato. Or loop a short sequence of notes.
  2. Write a bassline. Maybe make an alternative pattern.
  3. Add drums.
  4. Extract kick, snare, hihats etc. to individual channels.
  5. Put in a chord progression on strings or pads to follow the bass.
  6. Add a second voice on an octave from the first riff, harmonize.

Some people get more inspired by starting with the drums (so you can change order of point 1-3). Anyway, by now you have a few bars repeating over a few seconds. Copy and paste this sequence with all channels active. It’s then time to arrange a song structure by removing channels.

Perhaps begin with an intro of the riff, build up with drums, add bass, mute the riff, let bass and drum play together for a few bars, add a new lead, bring in the original riff, mute bass and kick, put in a breakdown with only chords, make a drop with everything you got, mute some of the instruments, add others, change instrument for an already played sequence, change octave for bass for a brief moment etc. Remember to split the full drum pattern and mute different drums on different parts of the track.

Depending of what kind of orchestration your after, but maybe keep it simple – like a real five man band, where the drummer only have two hands and two feet, so don’t hit all cymbals and toms at once even if you can electronically. And each other band member plays only one instrument at a time.

In other words write a few bars of music with five different instruments that sound good together, then just mute and unmute over time.

And If you’re into pop music, you might what to construct your song around verse, chorus, bridge and so on, and write a strong lead melody over all parts.

Standard

A Way to Write Electronic Music

Okay so the last article was about why I don’t use DAW templates – how I prefer starting from scratch without any predefined workspace to save time – this time I’m going to tell you what I actually usually do when writing music.

Firstly, everything starts out of passion – a will to create. I don’t need to make music to be able to put food on the table, or I don’t need to release stuff because anyone says so. I do this simply because I enjoy it.

Right, I usually begin by setting up a few rules and limitations for myself to help define the track, and to drive creativity; it could be deciding on what expression I’m pursuing – tone and atmosphere, or what style of music I’m after.  It could also be about limiting the amount of sound sources/synths. Which equipment to use, e.g. compressors, limiters, saturation units etc.

Sometimes I write music with only a basic piano sound (those tracks tend to have a more traditional musical structure and rhythm).

But more often, I start by making a sound, a patch on a synth, and write music around it. I’m finding use for it, improvising a riff or musical motif and then building a context. This rough draft is done rather quickly, but may be reconstructed later on during the process of music making.

Here’s a set of guiding principles outlining a course of action:

  1. Make a patch, design a sound.
  2. Sequence a loop using this patch.
  3. Find a context, decide on what kind of track you want to do.
  4. Program a 8-16 bar drum pattern, at this point, not too advanced.
  5. Compose a rough structure.
  6. Fill out the song, e.g. bassline, chords, harmonies.
  7. Change and layer sounds, make new patches to fit the song as you go.
  8. Repeat step 5-7 until you’re happy with the result.
  9. Make a final mix (this won’t be final but mix the song as it was the last).
  10. Do your mastering process.
  11. Reference your track on several sound systems, both on hi-fi and on cheaper speakers (don’t forget headphones and on different volume levels).
  12. Repeat step 9-11, but make sure that you do finish. If it looks like you never going to be satisfied with the song, then leave it, and move on and start anew.
Standard

New tracks in the making. #modularsynth #analogsynth #vintagesynth #eurorack #homerecording #bedroomproducer #songwriting #cz101 #analogkeys #juno106 #monopolx #electronicmusic #electro #electronica #chiptune #sidmusic (at Stockholm, Sweden)
https://www.instagram.com/p/Bz8iBQsILxM/?igshid=qhixxngg9xr3

Image

Use of DAW Templates

The main idea of using templates for your DAW is to have a predefined configuration or setup of workspace to speedup your workflow and to remove repetitive tasks. A template is a starting point where your most commonly used items are already in place.

I don’t use templates.

I’m usually not in a rush, and for me, setting up a project with all its little utilities and connections, is part of the creative process, part of the fun.

They say a template allows you to get into making music more quickly. But I’d say it depends on the approach to music; I choose different compressors, different reverbs, different EQs every time. This is building music as much as putting down notes or beats.

I could have placeholders for auxiliary sends and such, but it would inhibit experimentation and lead to an uninspired, streamlined signal path.

I don’t know how many MIDI or audio channels I’ll use beforehand. And if I need to erase empty channels or add more to scale regards to the project – that would beat the purpose with templates.

Well, all tasks in music production aren’t fun, like high-passing every single channel or EQ notch muddiness and so on. But if you’re not willing to work, it’s almost like you could stop making music, and listen to already finished and published shit instead.

Standard

This is our Roland stuff from the 80s. We like that era of Roland, and use it on almost every Monopolx recording. #vintagesynth #analogsynth #bedroomproducer #homestudio #homerecording #makingmusic #beatmaking #electronicmusic #songwriting #roland #drummachine #monopolx (at Stockholm, Sweden)
https://www.instagram.com/p/BxCMZgKFsCn/?utm_source=ig_tumblr_share&igshid=1ahu1kgtsfqux

Image

Add Cassette Tape Soul to Your Music

If your in the box music production sounds cold and sterile, you may want to give it a lo-fi treatment to add some warmth and soul. Here’s a few quick tips using lo-fi equipment.

The most obvious method is to record your whole track (or elements of it) on cassette tape, and then re-record it back to your DAW where you can apply some subtle mastering and finishing balance. The deck and tape will slightly saturate and compress your track. The frequency range within 3 dB bandwidth will differ from setup to setup, but most should manage at least up to 12 kHz.

Recording on analog tape will also add noise. From a technical quality point of view, your sound will be degraded – but that doesn’t need to be bad.

If it wasn’t for the small fluctuations of tape speed (wow and flutter), you could insert and sync your tape recording to your digital track in a New York parallel compression-style. But you can’t. Smaller portions yes, but most certainly not the whole length of your track.

Another thing to try is playing an empty tape and record it in your DAW. Raise the input level and the mechanical device’s noise, hiss, electric hum and such will be captured. You can then EQ and mix this audio in your track. Just sidechain compress it to a drum or an instrument bus and the noise audio will pulse and breath with the rest of your track more naturally.

Standard